Customize Your Theme
Theme Development
Welcome to the Shopify theme development. You can do this locally (see previous guide) or within the Shopify code editor. Updates from the code editor will be immediate, and will also automatically push to your github repo. Shopify has some great documentation on set up, so if you are looking to connect your theme for the first time, please follow their guide here.
If you are editing an existing theme or repo, I will review some of the main areas of the Shopify Admin you will be navigating daily.
Shopify Admin
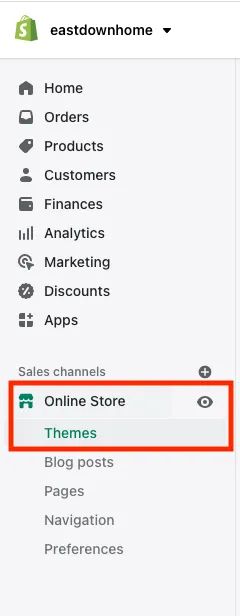
The Shopify Admin is your new best friend. You now live, eat, and sleep here. Get comfortable. The theme files can located through the left sidebar under the “Sales channels”. As you can see, other content such as nav menus, content pages, and blog posts can be added and/or edited here.
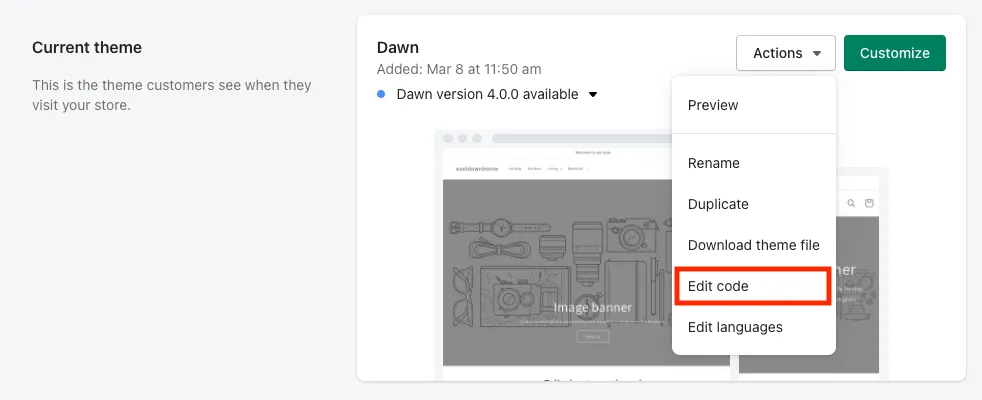
Within the Themes tab, you can either editor your exiting theme or test a new one (without pushing it live). Choose your path wisely… To use Shopify’s code editor, go into the “Actions” drop down and select “Edit code”. If you want to update modules and other static content like headings or images, select “Customize” and you will be taken to the Shopify CMS.
Code Editor
If you choose to use the Shopify editor, you will be able to make code changes quickly. In fact, they will be immediate. You’ll want to create a backup of your theme files in case of breaks. You can do so by clicking “Duplicate” in the “Actions” dropdown. The duplicated theme will now show below in your “Theme library”. If you want to be able to preview code changes before pushing them, you can do this in the duplicate theme you just created.
The process to edit is very similar to the live version. Simply select Actions > Edit code.

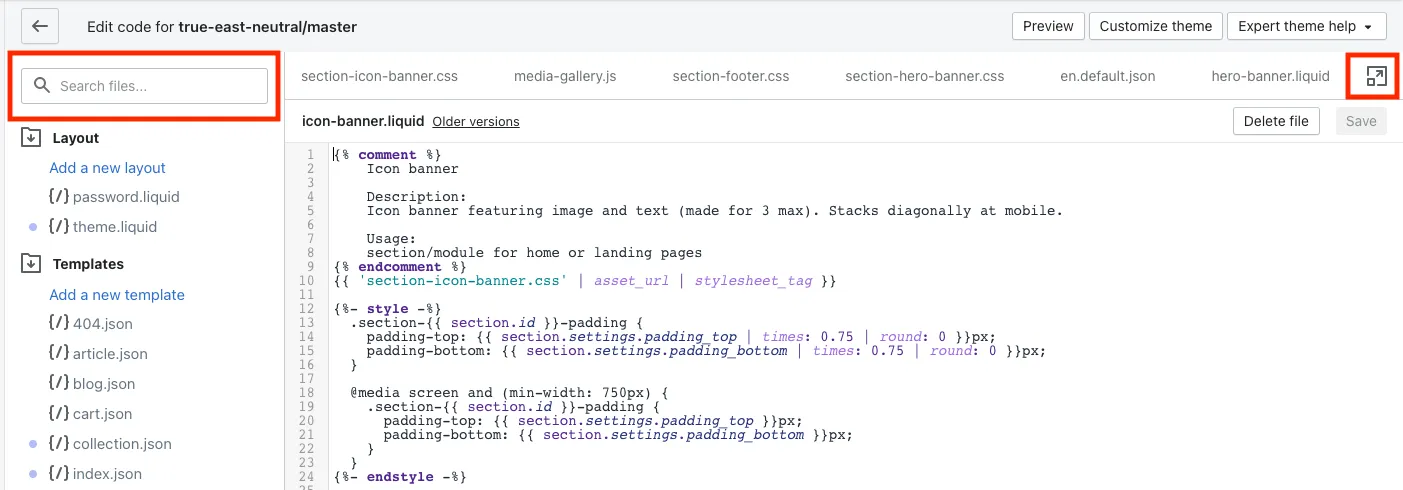
Once inside the editor, you will find that your dev features are quite limited. Like word wrapping and a specific color theme? Sorry, Shopify has light/dark mode and side-scrolling. You can expand the editor to fill the entire page (button in top right), change the color from dark or light mode, and search based on file names.
Make changes and save. As easy as that. You can also roll back to a previous version on specific files. Just remember that any saved changes are immediate.
Theme Structure
Your theme will need a specific folder structure in order to be read by the Shopify template engine.
└── theme
    ├── assets
    ├── config
    ├── layout
    ├── locales
    ├── sections
    ├── snippets
    └── templates
        └── customers
The theme files will be furthered discussed in the post about Liquid, but for now you should know that all files outside the assets folder need to have the .liquid extension. For all the css, js, and images (not specified in the CMS) you will put them in the assets folder with their designated extensions.
CMS View
For module/section updates and content changes, you can go into “Customize theme” through the code editor or Sales channels > Themes. From here you can add/edit/rearrange sections. This is your standard Shopify CMS view.
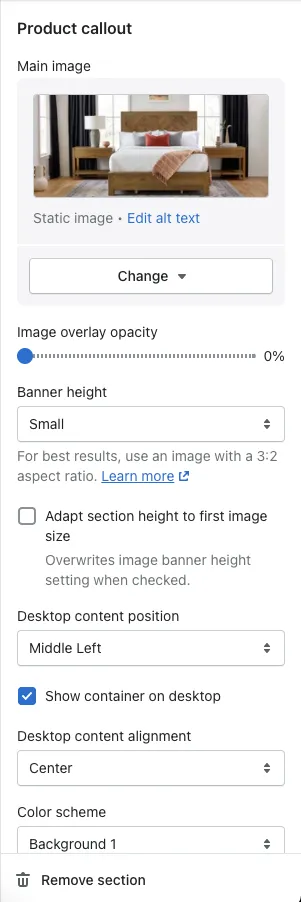
For example, if you wanted to update the Product callout section, you can click into it on the right sidebar. All the sections that have been applied to the home page are displayed. Sections and their inner blocks can be toggled on and off with the eye icon. You also can drag and drop sections to rearrange them.

To update something like the image for the Product callout section, we can click on the section title. On the left sidebar, the specific editable elements to that section will appear.
Remember to save your changes or toggle the preview button to see what it will look like on the live site. You can also inspect with developer tools in the CMS view. All the input fields and options you see for each section are controlled through Liquid.
For more information on navigating the Shopify Admin: