Checkout SDK
The BigCommerce themes use a one-page checkout flow which they have customized. The codebase is React with TypeScript. The general git repo without customization can be found here.
We have branched off their repo and have our own custom versions:
Local Testing
The following guide by BigCommerce is super helpful for setting up your local environment for testing. Please read it (if available) as most of the steps will be reiterated below. Any additional commands can be found in the main project README.
- Open a terminal for cloned project
- Enter the command(s)
npm install && npm cito install all the packages needed for the project. - After that is complete, split the terminal and on one side enter
npm run devand the other side enternpm run dev:serverto start the application locally. - Using your local server address, produced by
npm run dev:server, navigate to your BigCommerce test store and enter that local address in the Control Panel under Advanced Settings > Checkout and enable Custom Checkout. - Enter the url for your locally hosted auto-loader-dev.js file from /build/ directory and you are ready to start local development
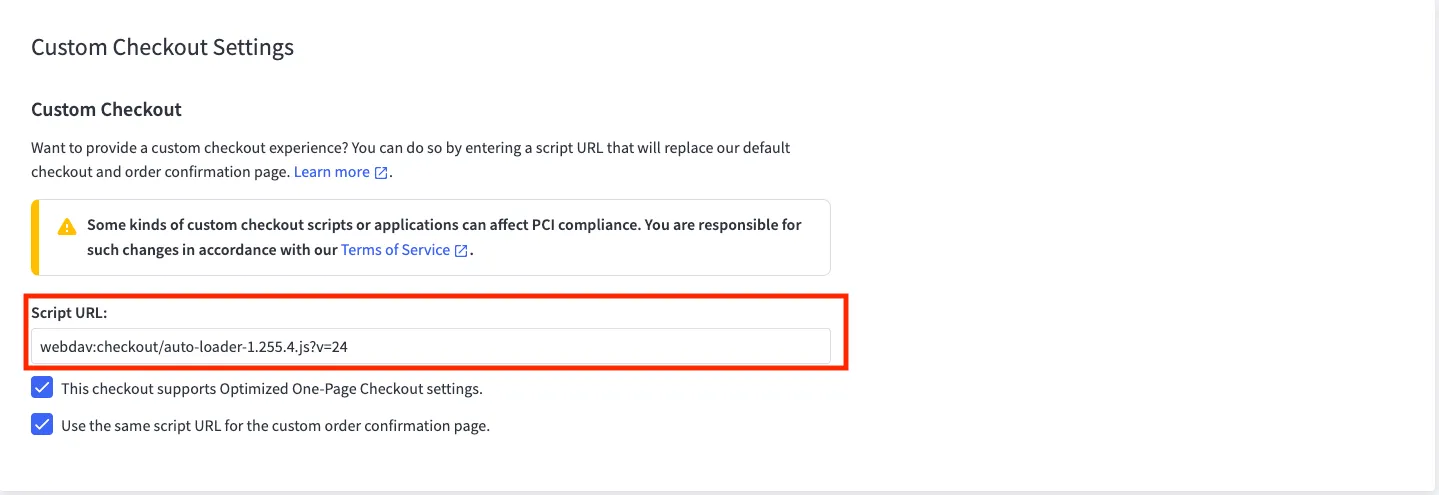
You can use the Script URL field in the BigCommerce admin Advanced Settings > Checkout to point to your localhost: http://127.0.0.1:8080/auto-loader-dev.js. To see changes, you will need to version this script as well.
Admin Settings
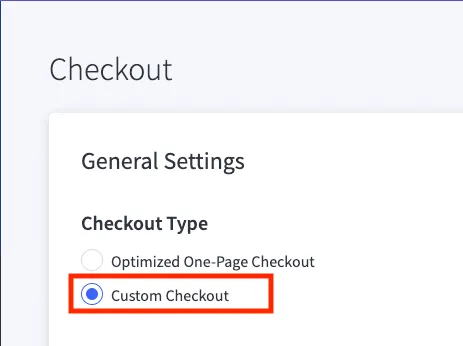
To version and turn on/off the custom checkout, you’ll need have the correct admin settings in Settings > Checkout > Checkout Type. To make changes to the codebase, you’ll need to set the Checkout Type to Custom Checkout.
We are hosting the checkout project through the BigCommerce webdav. In order to see your code changes, navigate to the Custom Checkout Settings section and update the Script URL ...?v=NUM up a digit.
Webdav Hosting
We are hosting in the BigCommerce webdav, which makes for an interesting upload path.
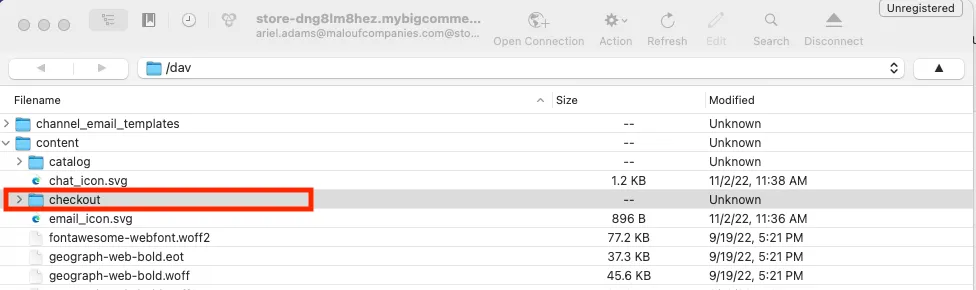
Within the checkout codebase, you will need to run npm run build to generate a new dist folder. You will then navigate to the Webdav client and enter (or create) the checkout folder. It should be nested in the content folder.
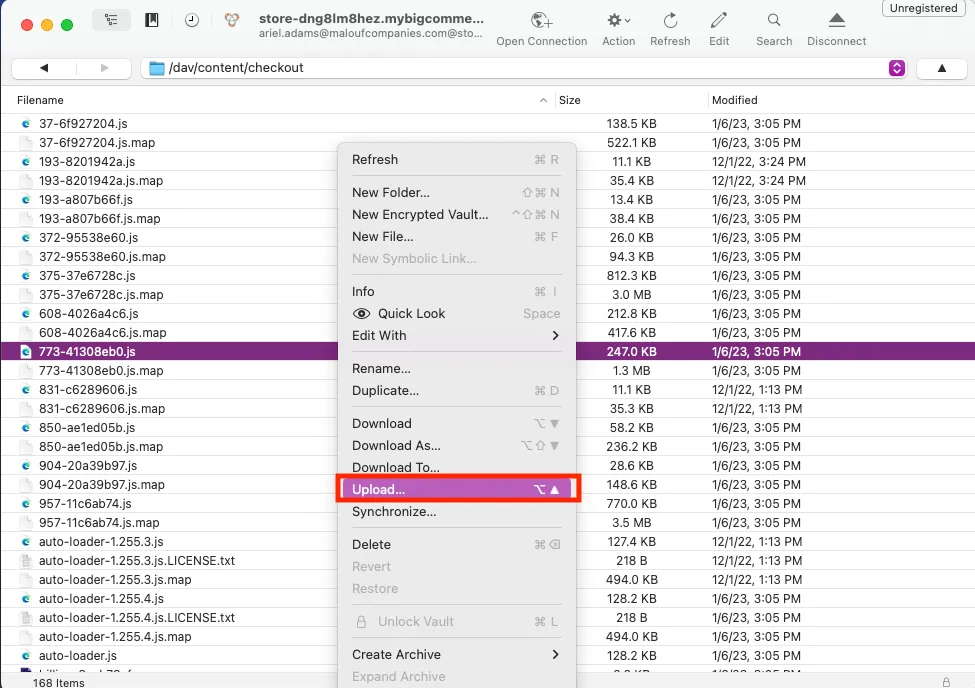
Within the checkout folder, right click and select upload from the menu. You will then upload the contents of the dist folder, NOT the dist folder itself — just the contents. Feel free to rewrite any of the duplicate files.
After you have finished your upload, version the files in admin.
Development Tips
Most styles or basic JavaScript can be altered in the actual stencil theme code in the following files:
- optimized-checkout.scss
- checkout.html
- order-confirmation.html
You won’t need to version for updates made in these files. Please follow the regular PR flow.
Sandbox vs Local Environments
Due to the nature of the project, it is best to run npm run dev after making changes before running the build command. Pay extra attention to the console to avoid breaks.
If you are developing locally, the SDK project will cache 😔 In order to see your changes, either restart the project or navigate to an incognito window. Also within local development, you will not be able to access the payment methods to complete an order even if you are using test payments.
Please test in a sandbox in order to access the payment methods and reach the confirmation page. The confirmation page is only accessible in a “live” store (this can be a sandbox). You will need to style/code this area blind and upload the updated theme or webdav files consistently to see your changes.